
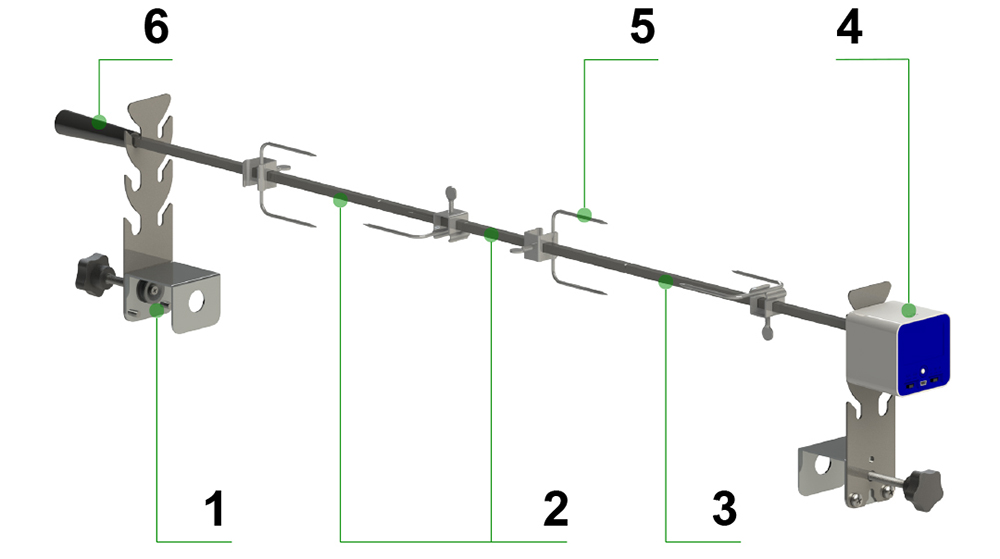
1 Bracket 2 Extension rod 3 Rotating rod 4 Multi-function DC motor 5 Fork with thumb screws 6 Nylon Handle
INSTALLATION STEPS
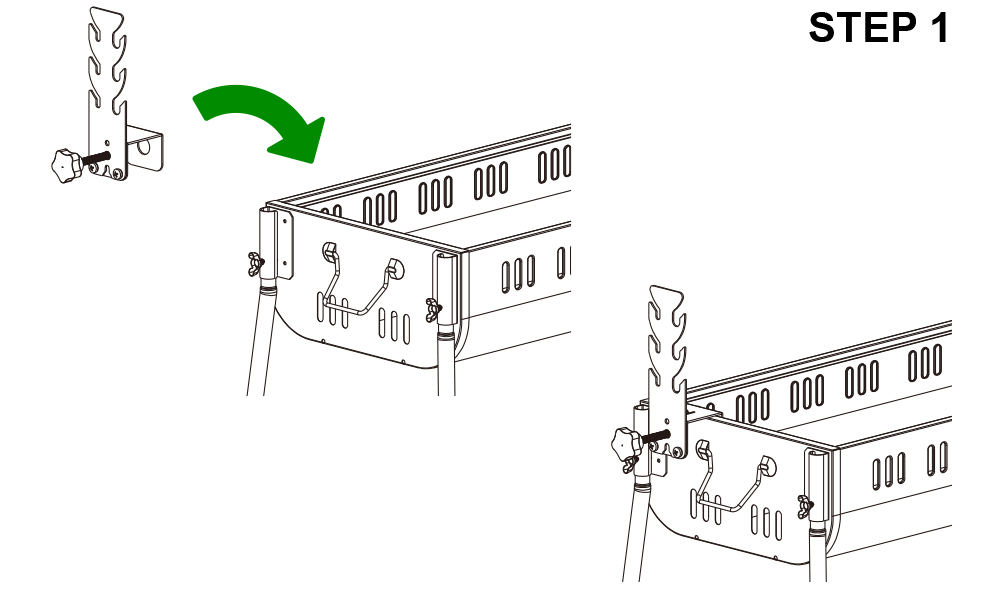
Step1
Turn the locking screws on the one bracket counterclockwise to loosen to the appropriate position. Then clamp this bracket to the appropriate position of the oven(BBQ stove) (sold separately, the same below), Turn the locking screw clockwise not to tighten.
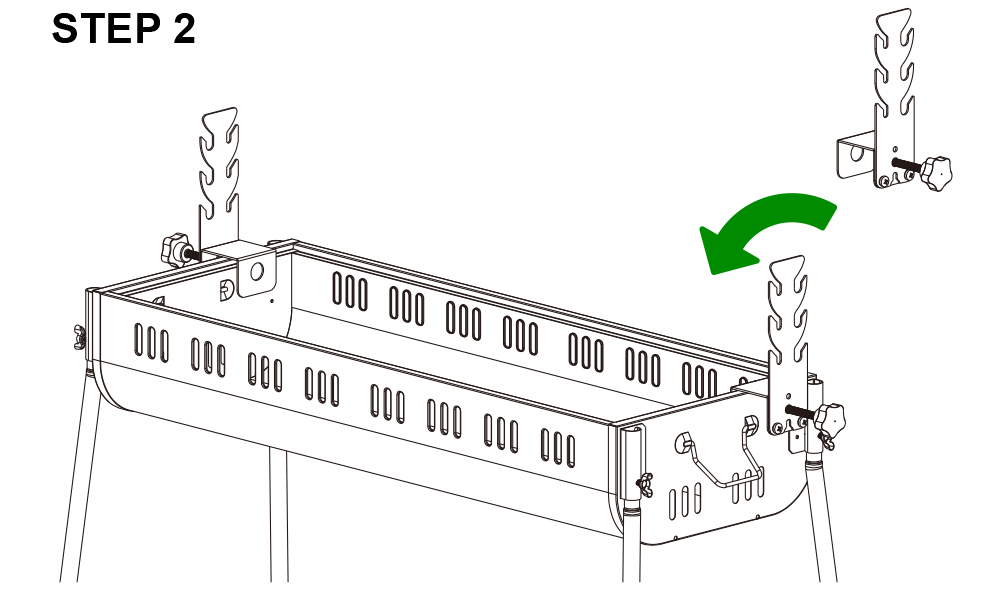
Step2
In the same way, clamp the other bracket to the other side of the oven(BBQ stove).
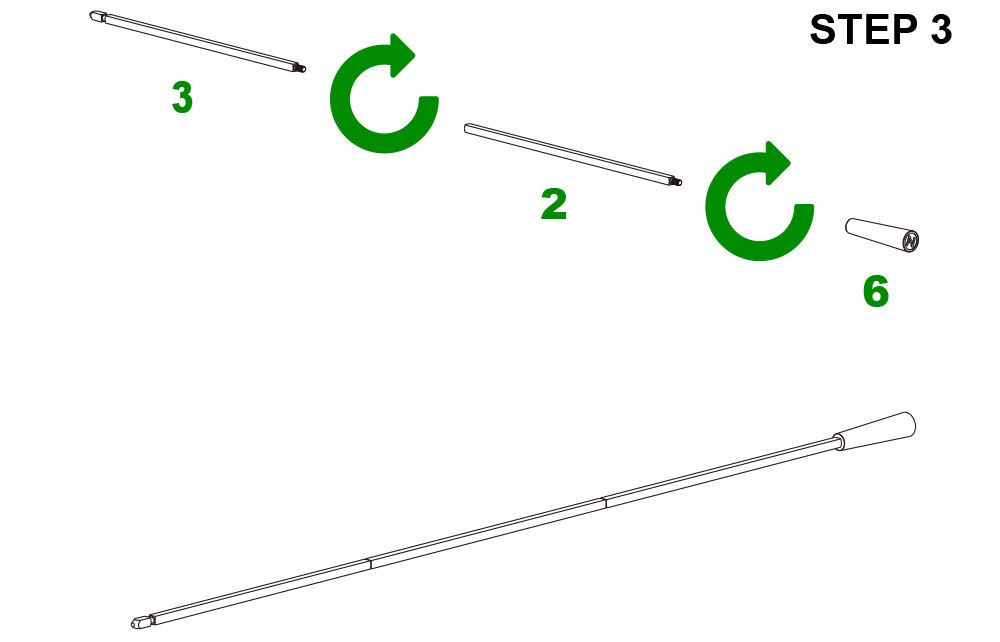
Step3
Turn the one or two Extension rods(2) clockwise to the Rotating rod(3), do not tighten, Screw the Nylon Handle(6) to the Extension rod (2) in the same way and tighten it.
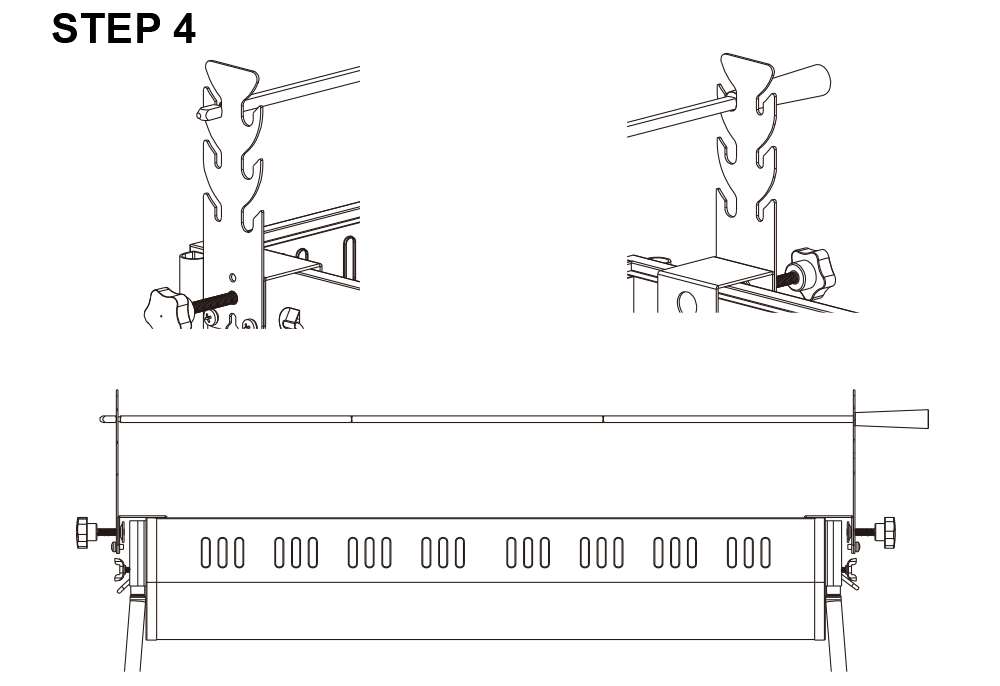
Step4
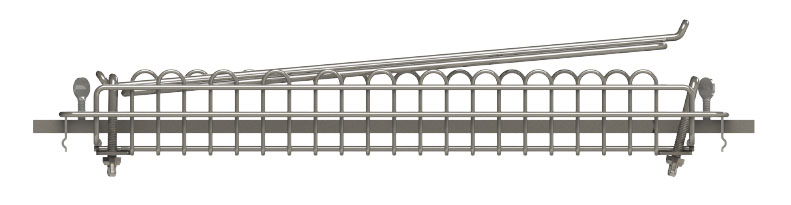
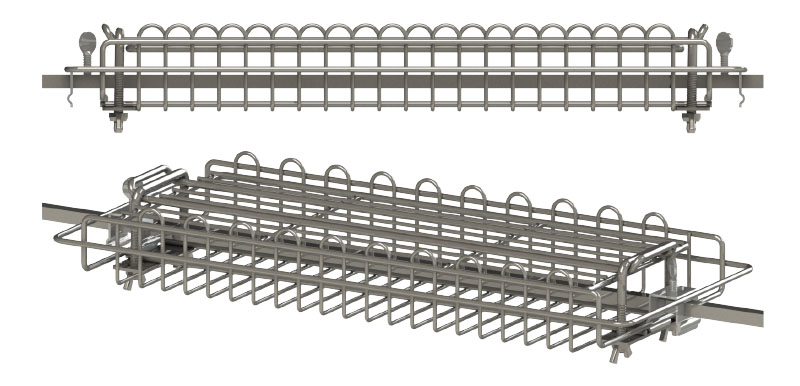
Put it on the brackets to test as shown (the Rotating rod is placed in the small groove, the Extension rod is placed in the large groove), that it can rotate smoothly, and then tighten the locking screws on the brackets.
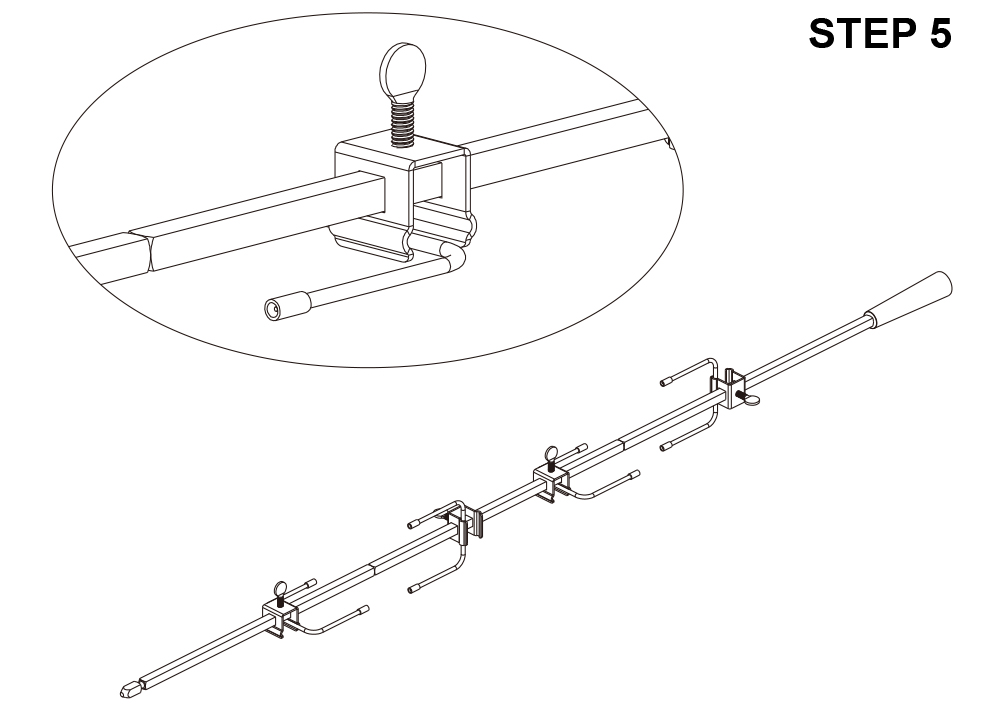
Step5
The forks through the rod, screw the thumb screws to the forks. After loading the food, adjust it to the proper position and tighten the thumb screws.
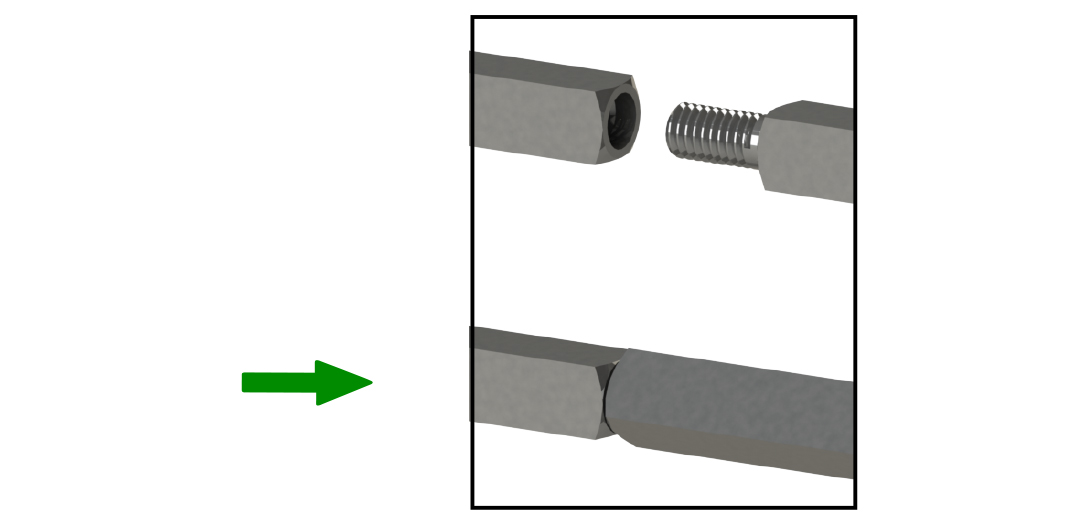
NORMAL MISALIGNMENT
NOTE:Thread processing needs to have a certain clearance, so it is difficult to have the same plane after the rod is tightened, and there will be a normal misalignment. At this time, you only need to loosen the rod a little, then put on the fork to the rod after the plane coincides. Tighten the rod after all the food is loaded.
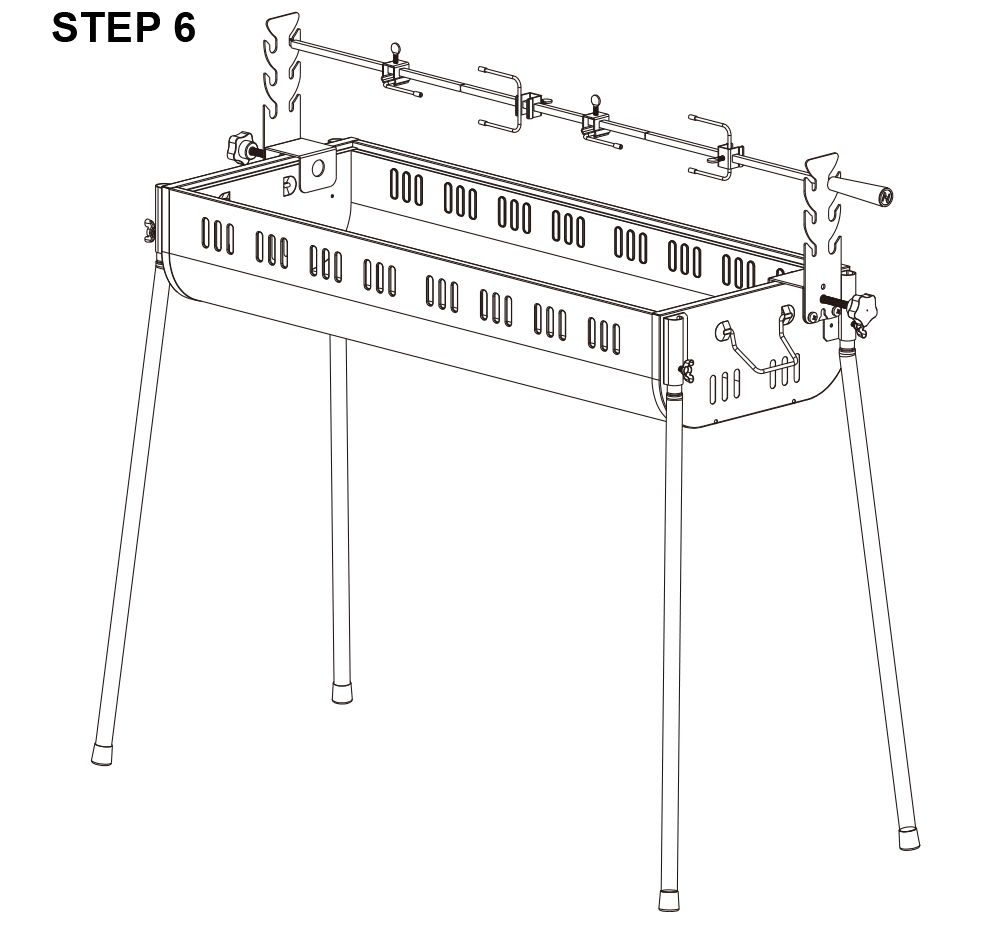
Step6
Refer to step 4 place it in the proper height on the brackets to rotate.
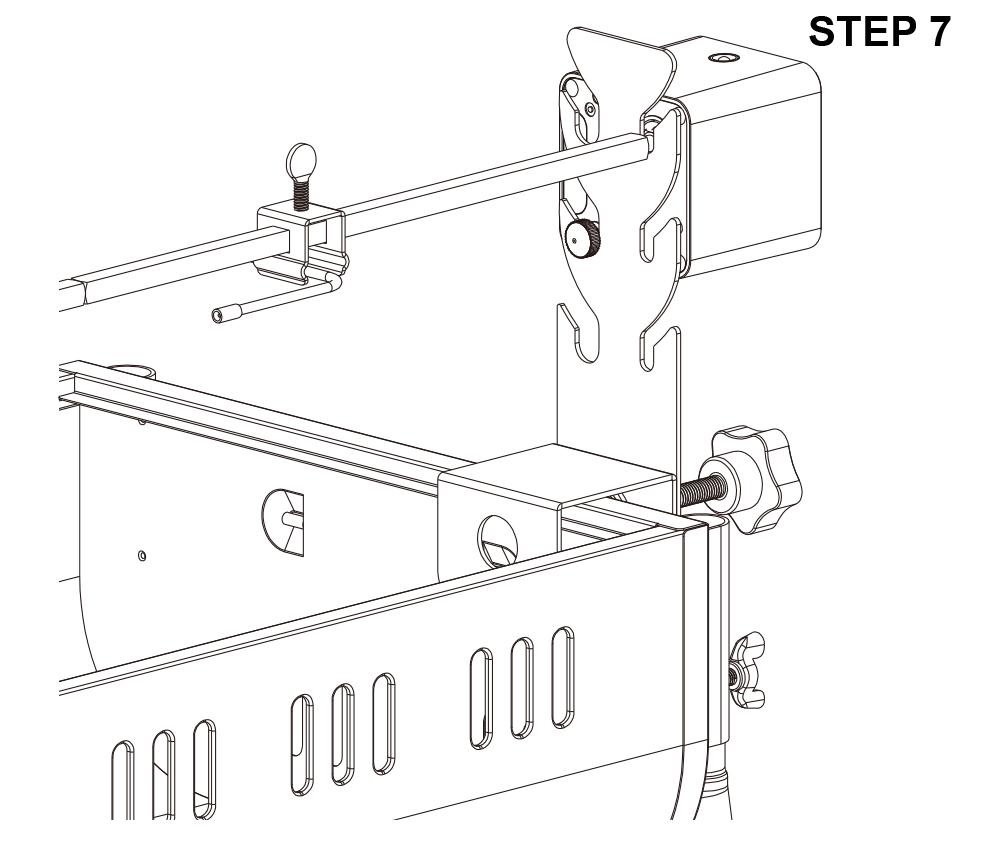
Step7
Refer to motor installation instructions(Click the picture below)。
Motor Video
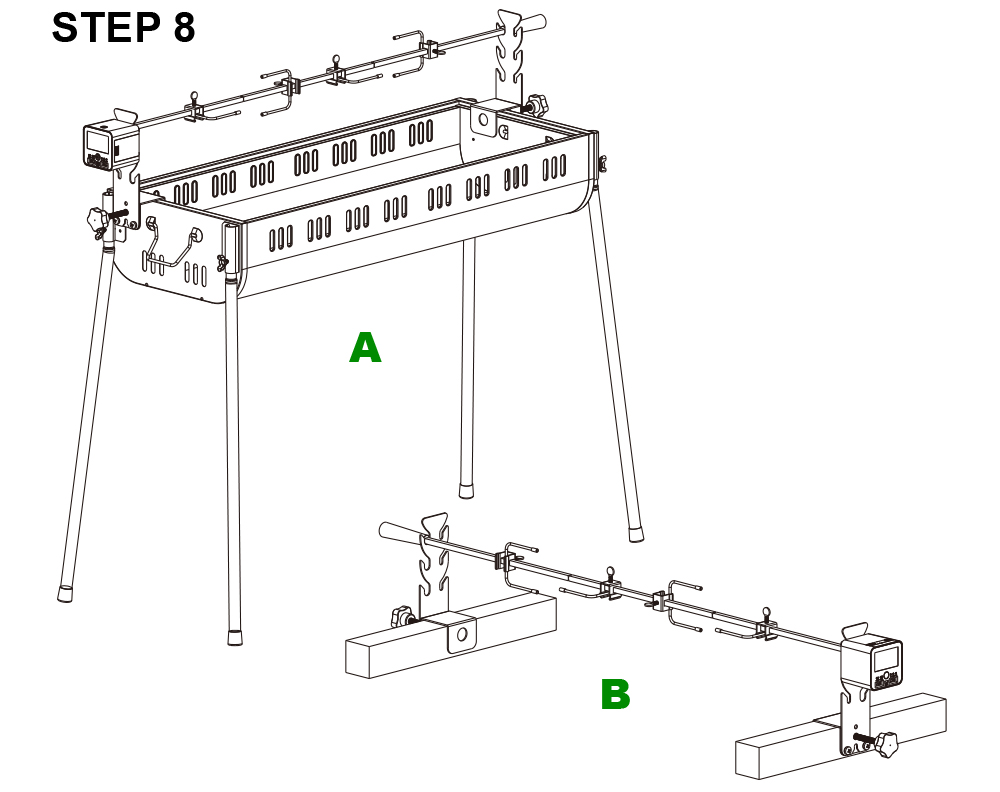
Step8
The installation is complete.
Option A is suitable for ovens(BBQ stoves): Supports ovens(BBQ stoves) with inner diameters below 78cm. They all clamping ovens(BBQ stoves) wall thickness are not exceeding 50mm.
Option B provides you with more DIY imagination.
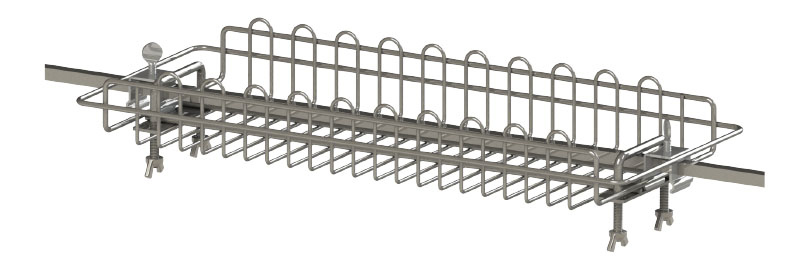
Basket Installation
Step 1
Loosen the wing nuts on the top cover of the grilling basket, please do not remove it.
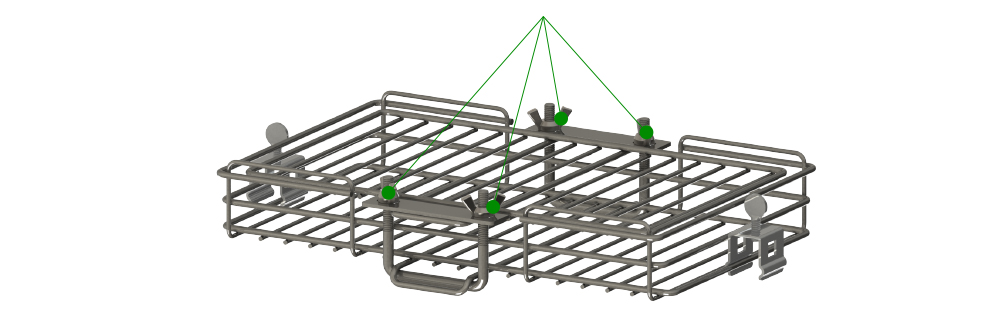
Step 2
Detach the U-shaped lock, and separate the upper cover of the grilling basket from the main body.
Step 3
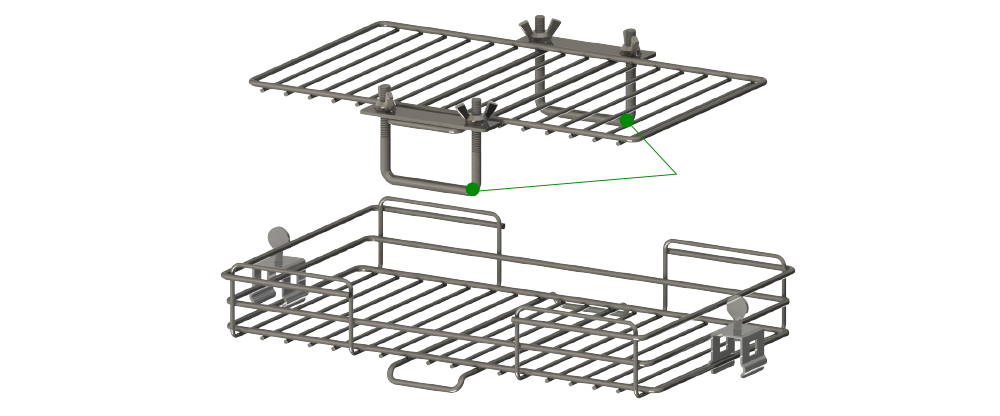
Thread the rod through the square hole in the grilling basket (thumbscrew can be loosened slightly but do not remove).
Step 4
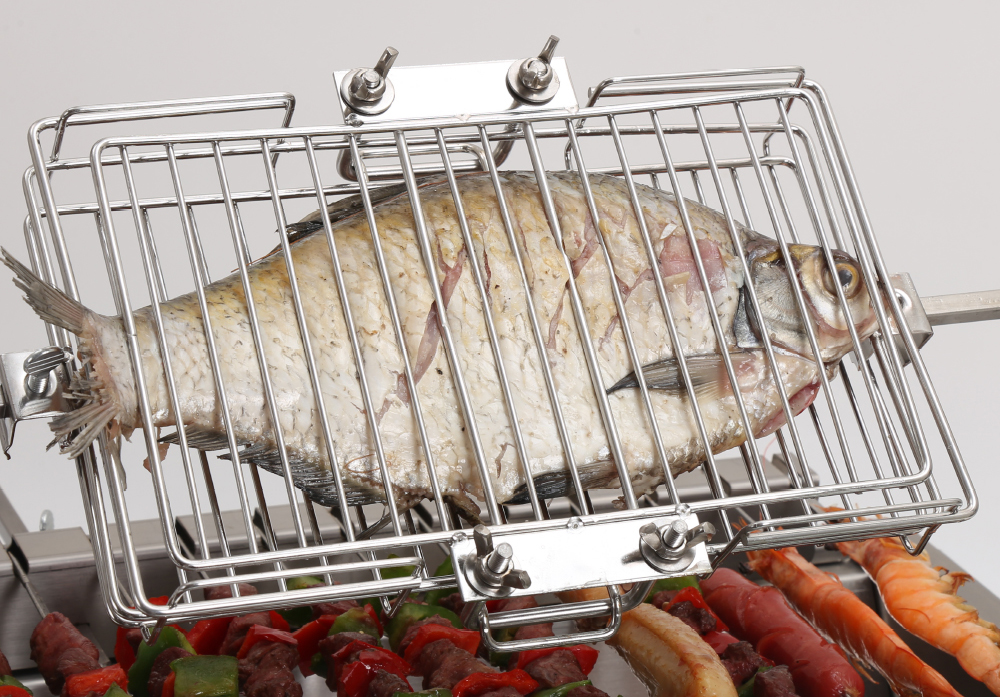
Put food in the grilling basket body and cover the grilling basket lid.
Step 5
Clamp the U-shaped lock on the fixed buckle of the grilling basket body, tighten the wing nut; slide the grilling basket to a suitable position on the pole, tighten the thumb screws to fix the grilling basket, and the installation is complete.
Installation Video:
1640 Basket Installation
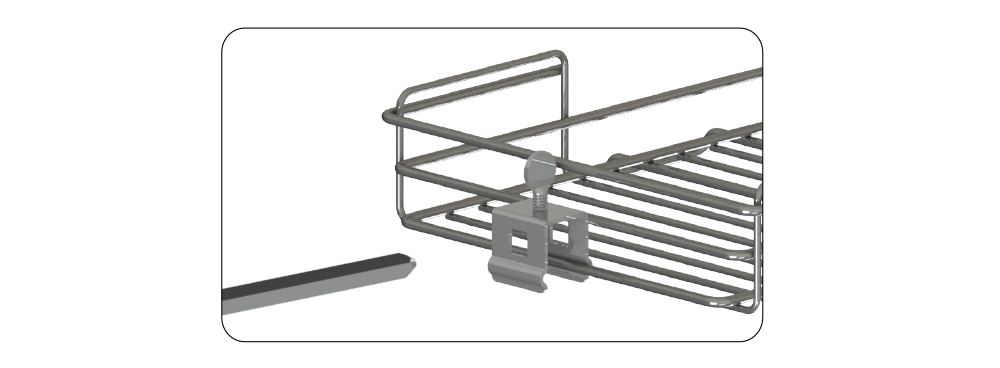
Step 1
Install the U-shaped latches to each end of the grilling basket body as shown in the figure, and do not tighten the nuts,Just don't fall off.
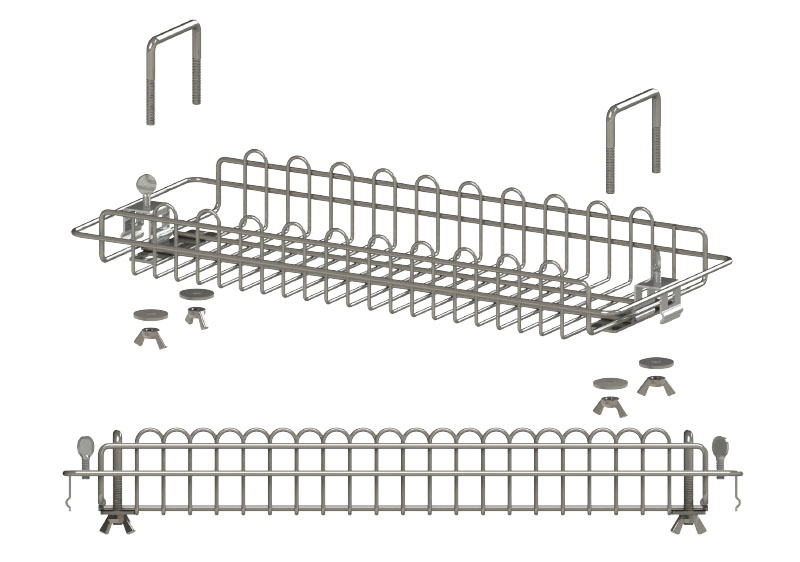
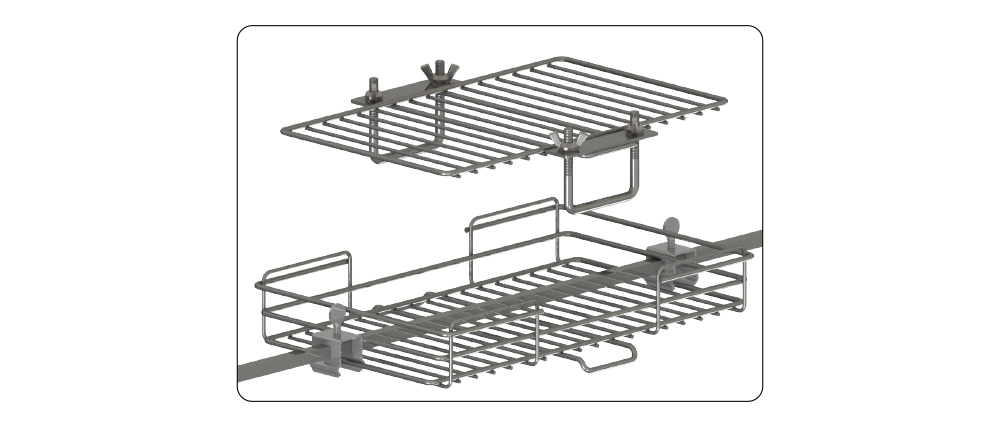
Step 2
Thread the rod through the square holes at each end of the grilling basket (if the rod is misaligned, loosen the thread slightly and wait for the rod to face the same way before threading them through the grilling basket).
(Thumbscrew can be loosened slightly but do not remove).
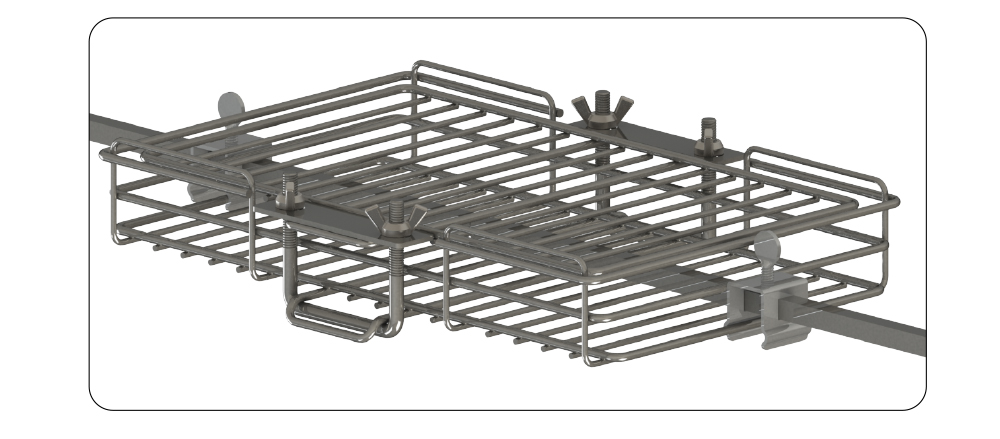
Step 3
Place the food inside the grilling basket body and snap the top cover end of the grilling basket into the U-shaped latch first, then the other end.
Step 4
Tighten the nuts, slide the grilling basket to the appropriate position on the pole, tighten the thumbscrew to fix the grilling basket, the installation is complete.
The opposite operation of the above steps then you can remove the food, pay attention to the U-shaped latch on the nut do not remove, to prevent loss.
Installation Video: