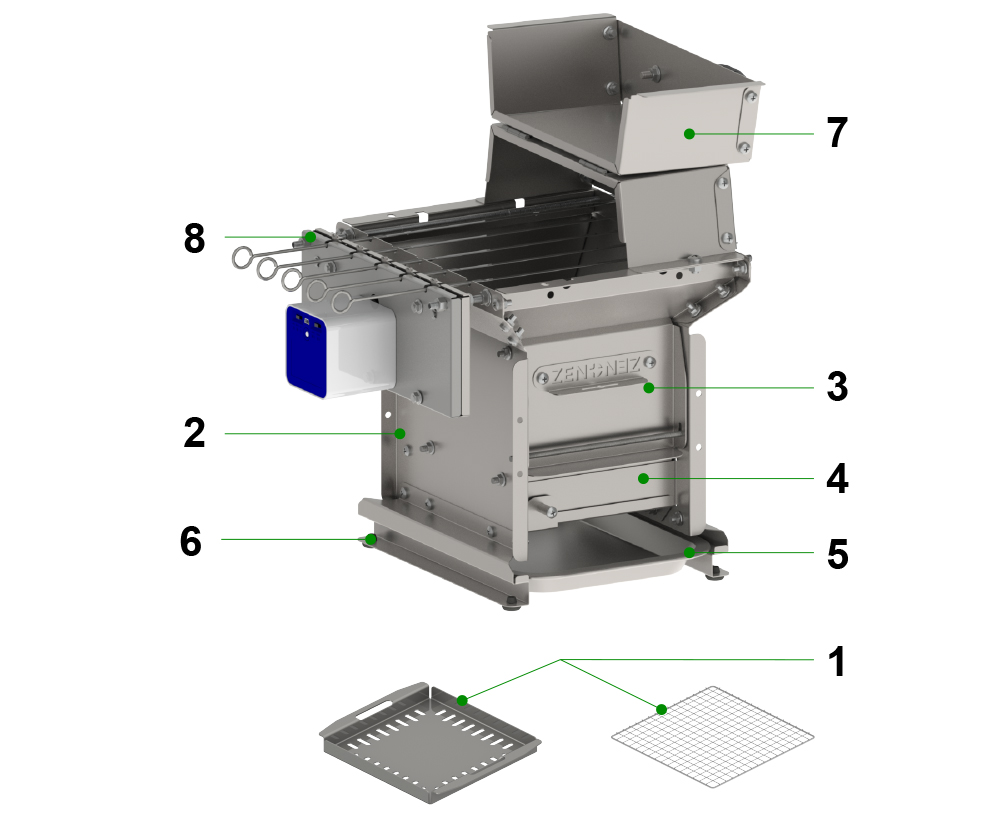
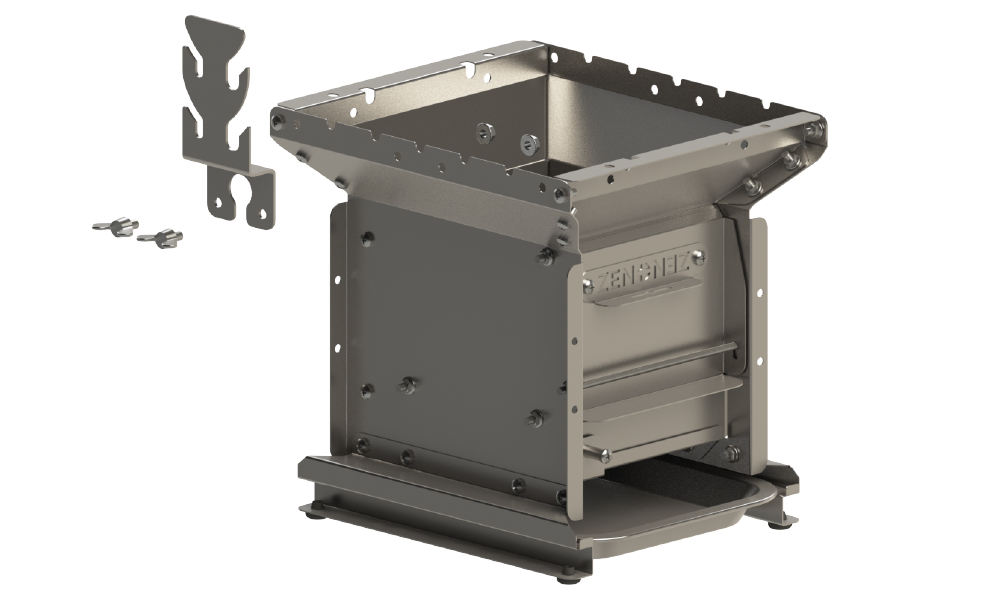
V1 charcoal grill is composed of the following parts:
1.Multi-function grill bakeware (or grill net) 2. V1 Grill body 3. Charcoal door 4. Air door 5. Oil pan 6. Non-slip silicone mat 7. Oven lid 8. V1 Auto Flip Grill
INSTALLATION STEPS
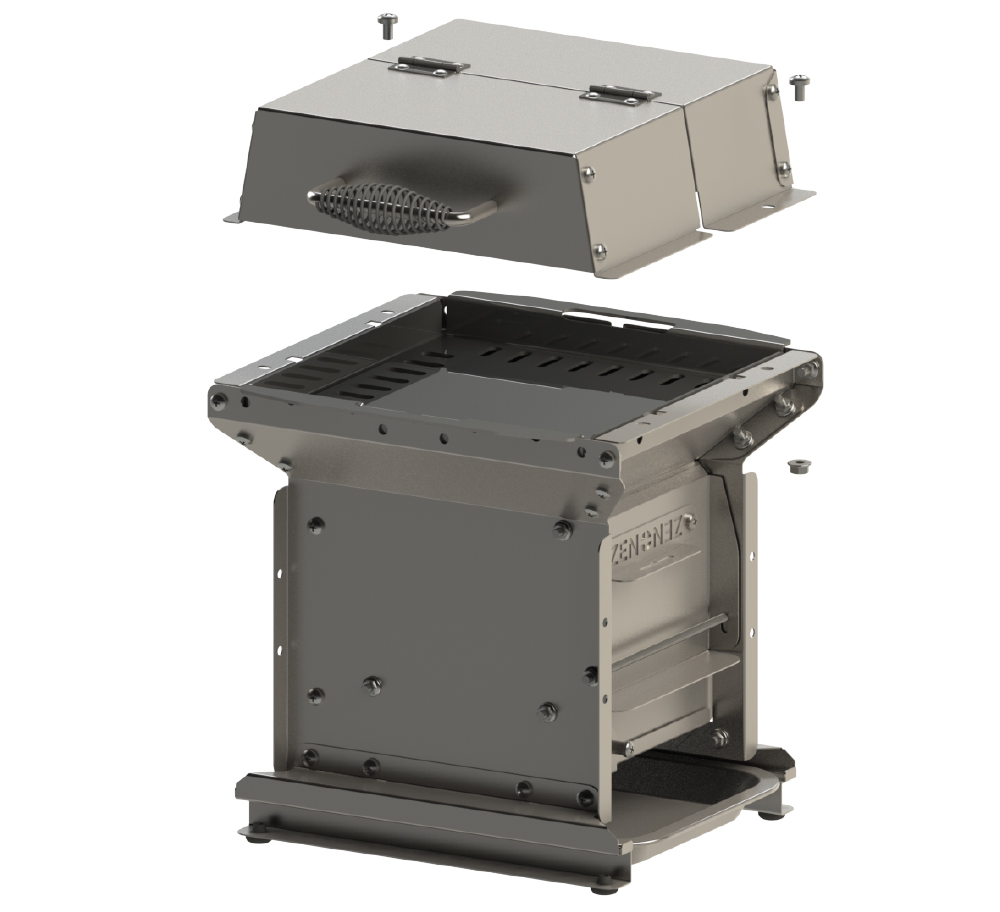
Oven lid Installation
First install the handle onto the oven lid and tighten it with a wrench.
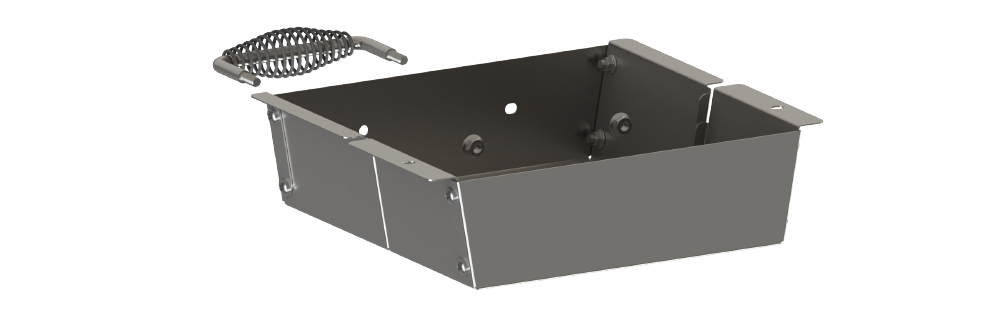
Install the oven lid to the V1 oven with two M6*10mm screws and M6 nuts, and the installation is complete.
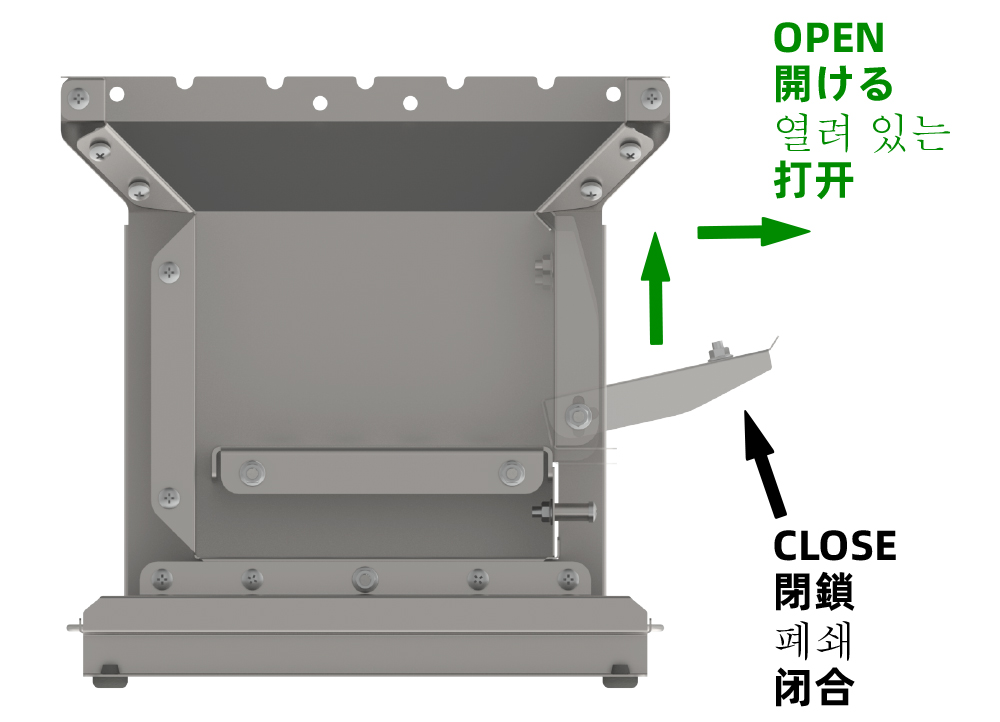
Charcoal door use
Open
Lift the charcoal door and pull it out
Close
Push in the direction of the vertical charcoal door
Note:Please wear anti-scalding gloves or use tools when opening and closing in use
Air door use
Move the handle left and right to adjust the air door
Note: Please wear anti-scalding gloves or use tools when opening and closing in use

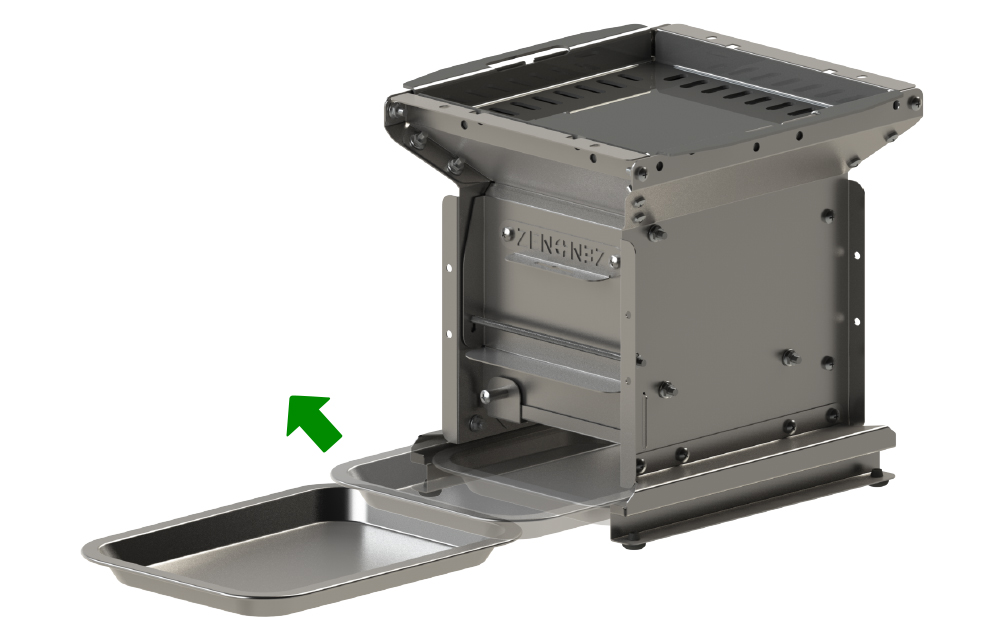
Oil pan use
Slightly lift and pull out to remove the oil pan
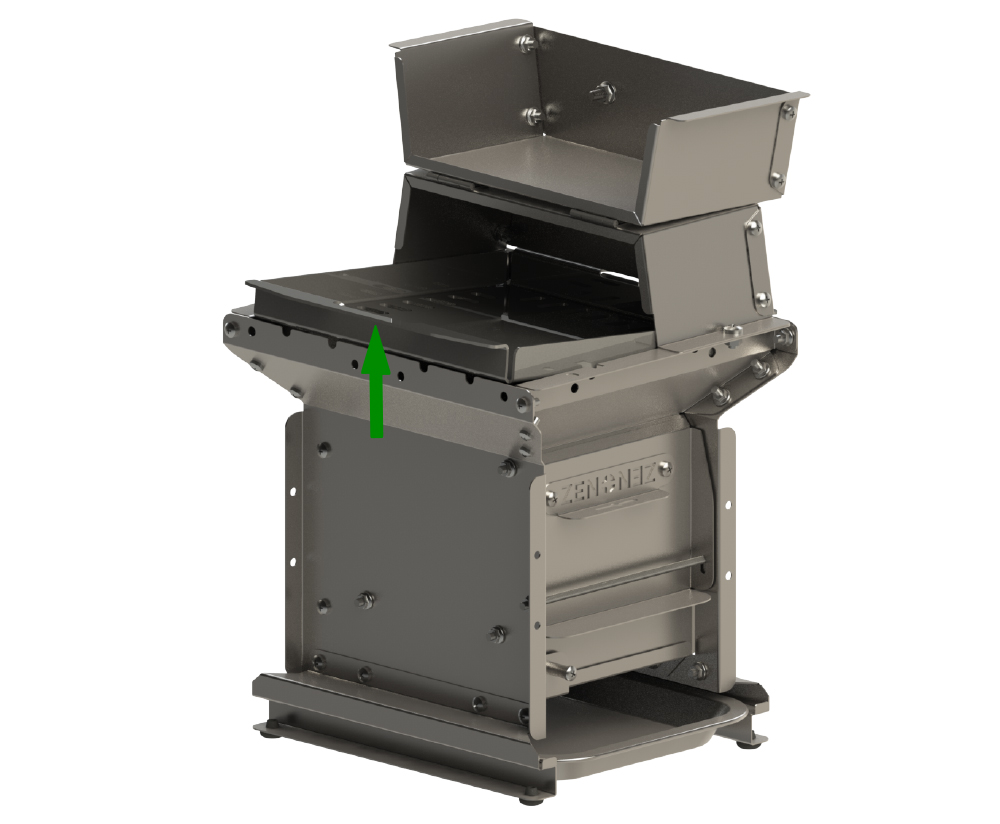
Multi-function grill bakeware pick up
Lift the Multi-function grill bakeware first until the bottom surface exceeds the surface of the oven mouth.
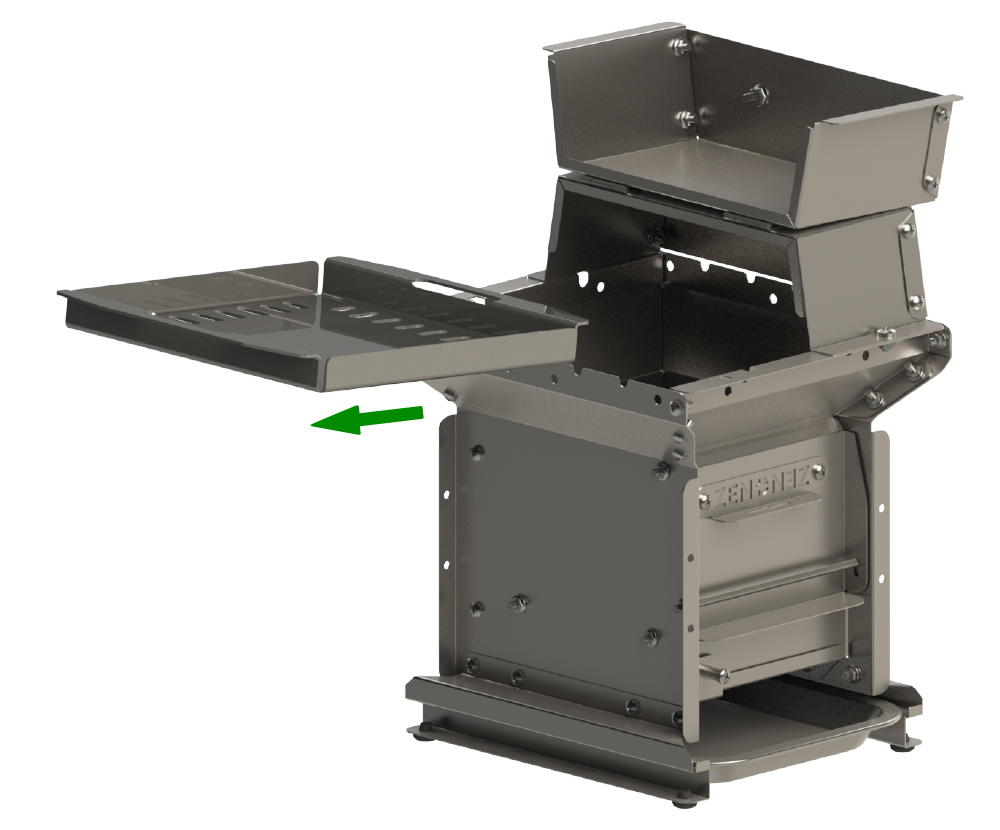
Just pull out the Multi-function grill bakeware.
If the Multi-function grill bakeware is placed in the oven, it is necessary to insert the handle end of the Multi-function grill bakeware into the gap between the oven lid and the oven body.
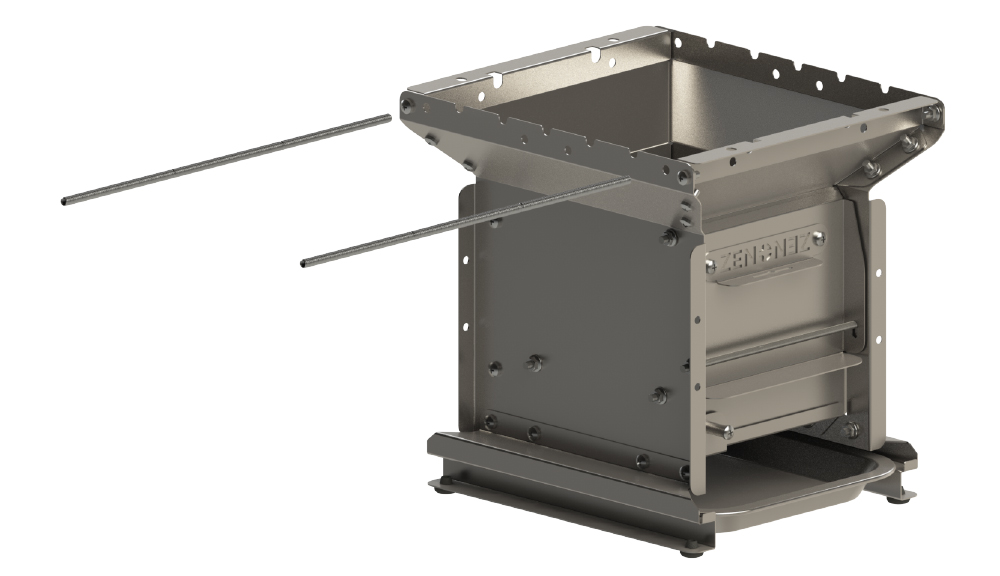
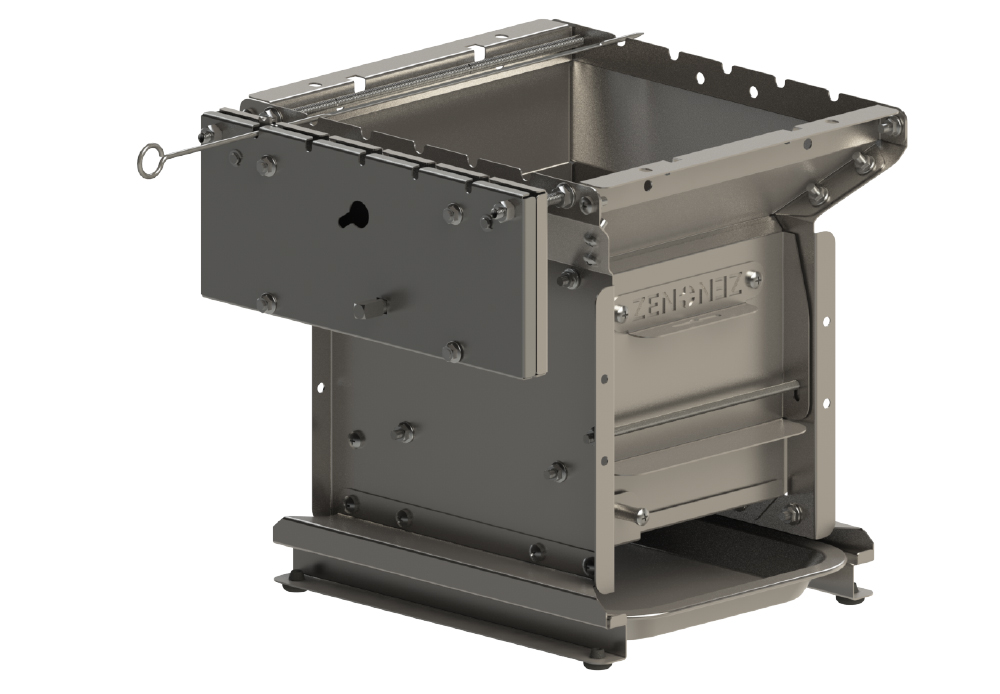
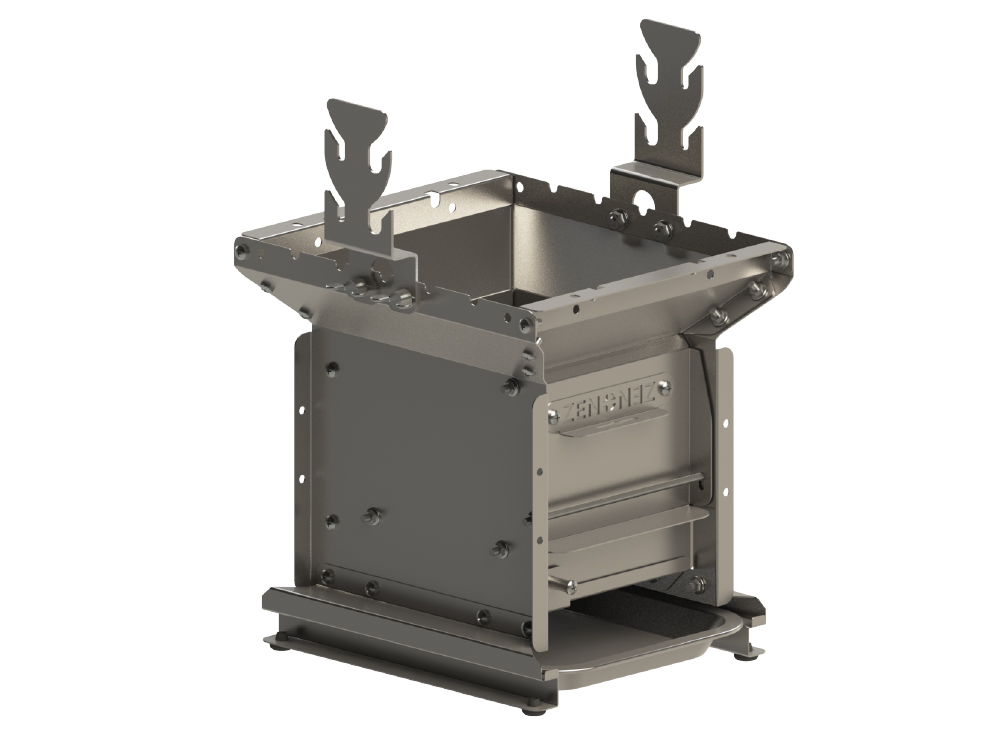
Auto Flip Grill Installation
Step 1
Pass the 2pcs guide rods through the round holes on the V1 oven body.
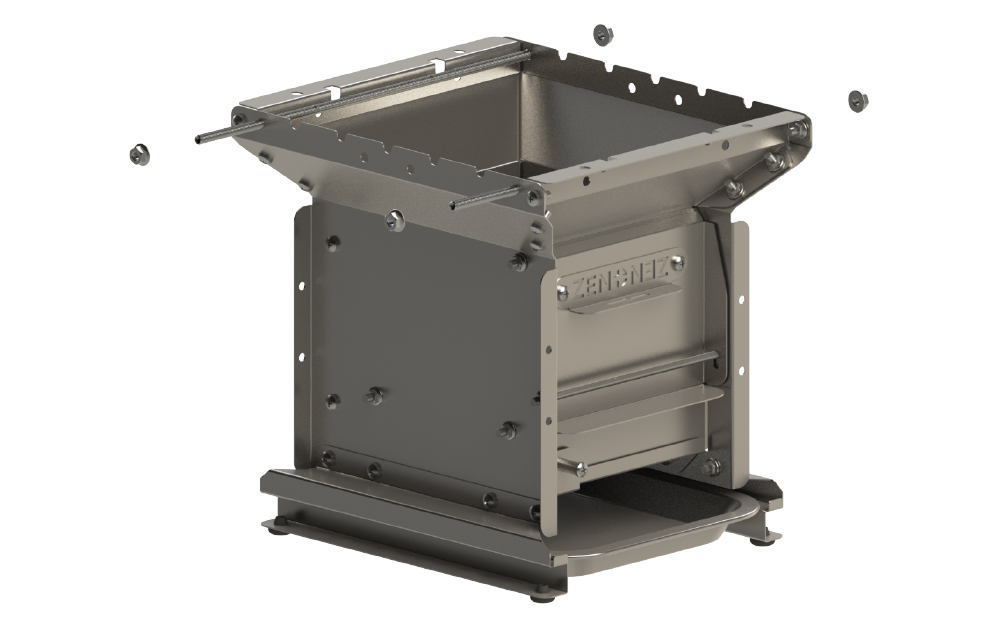
Step 2
Use 4pcs M6 nuts to fix the guide rod on the V1 oven body.
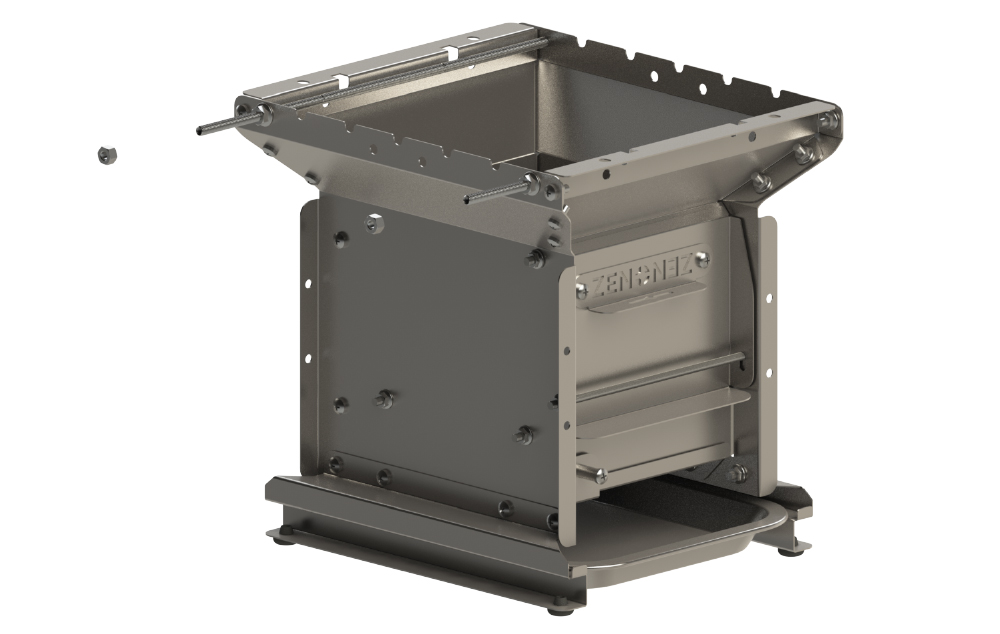
Step 3
Screw M6 nuts on the two guide rods according to the picture.
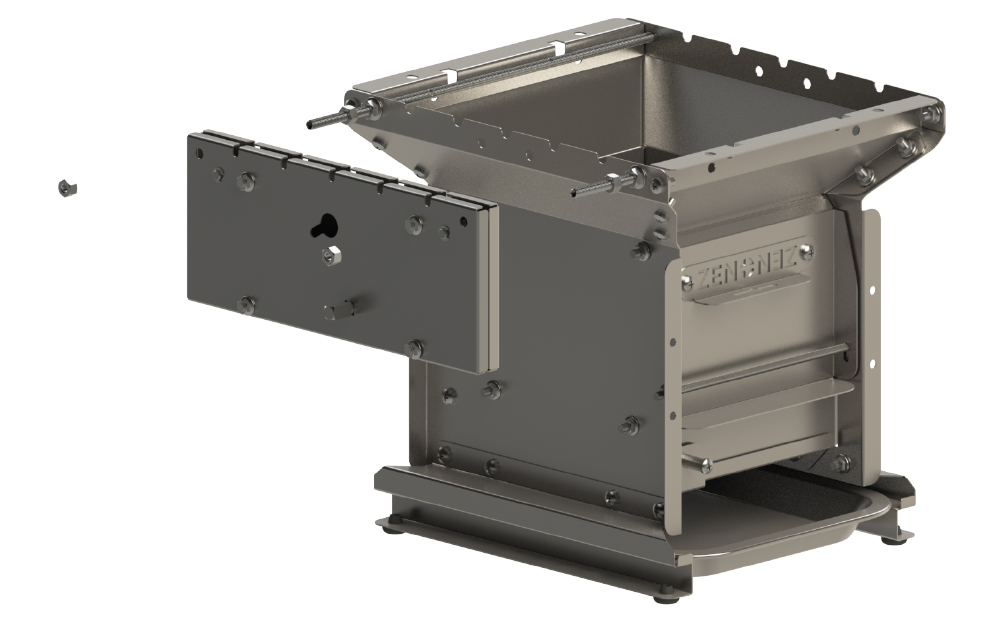
Step 4
Put the main engine of the V1 flip grill through the guide rod, and screw the M6 nut on the outside of the main engine at the same time.
Step 5
Use a skewer to test the assembly, and adjust the Main engine to a proper position;
Tighten all nuts.
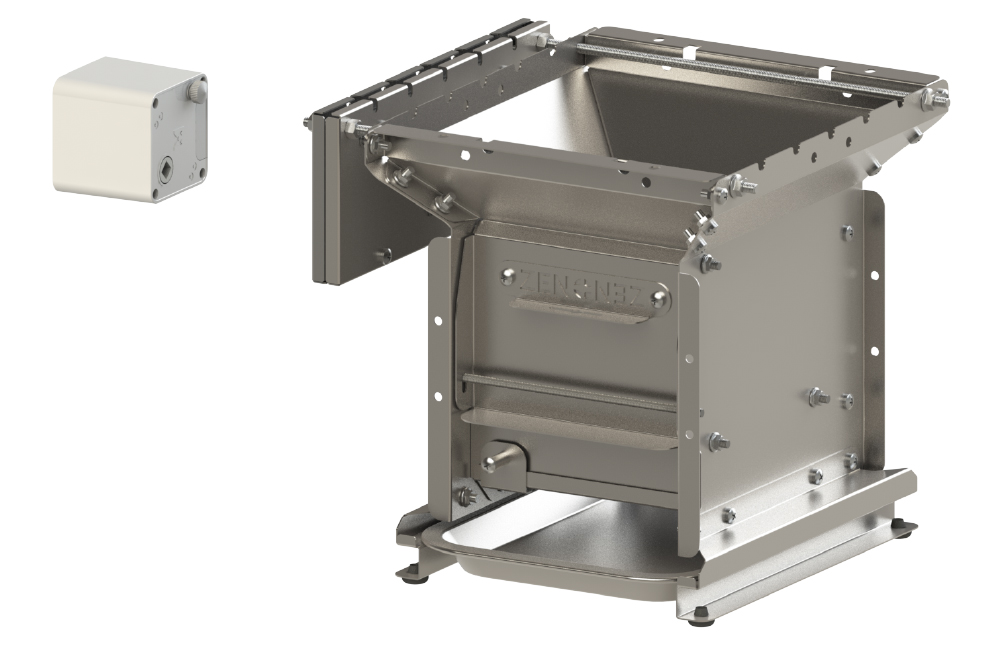
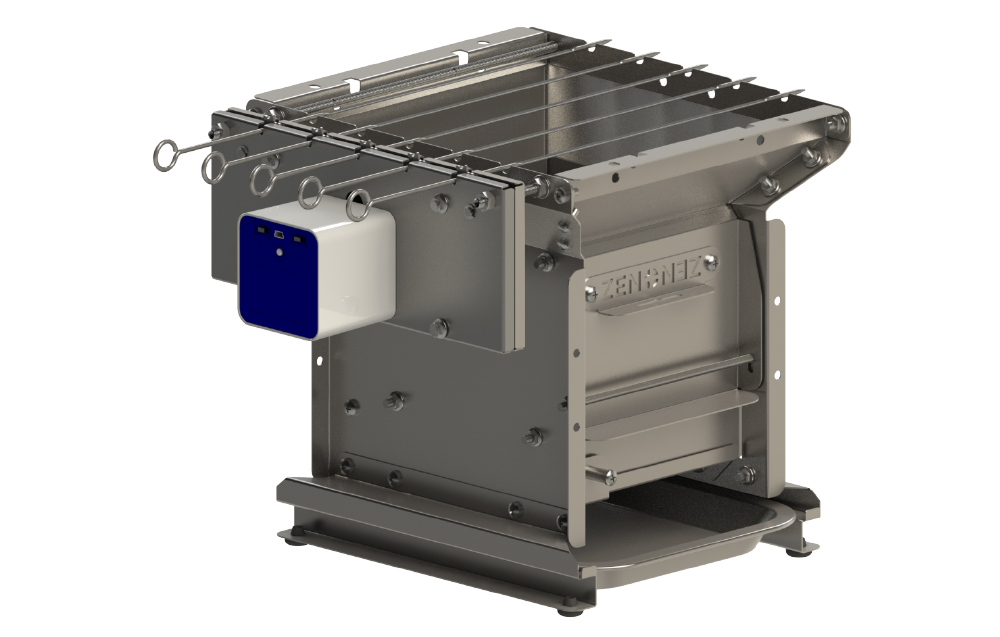
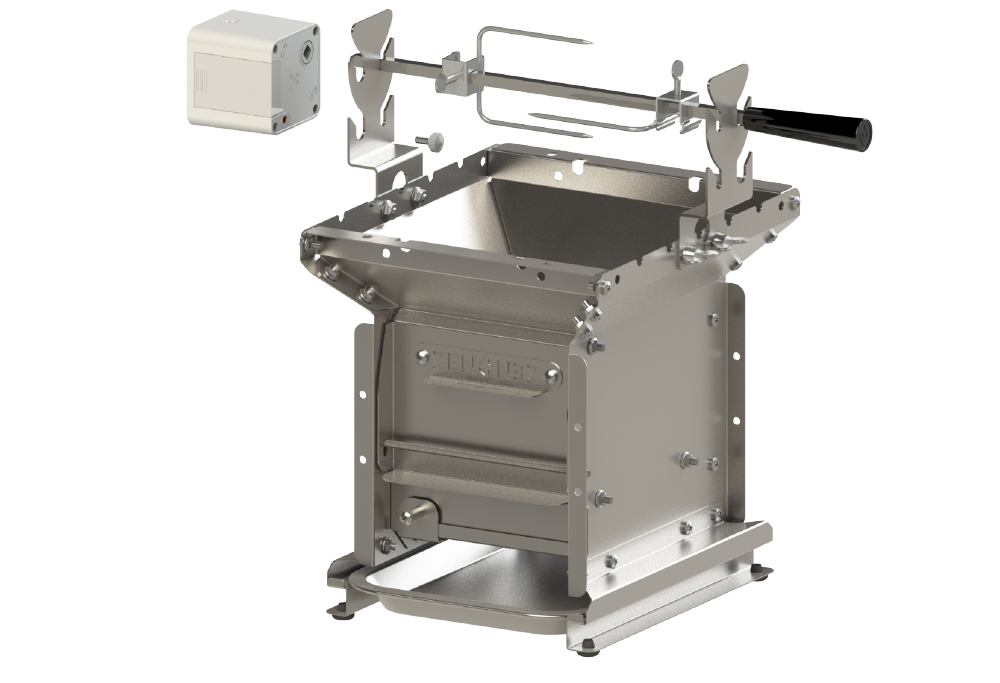
Step6
Refer to motor installation instructions(Click the picture below)。
Step7
The installation is complete.
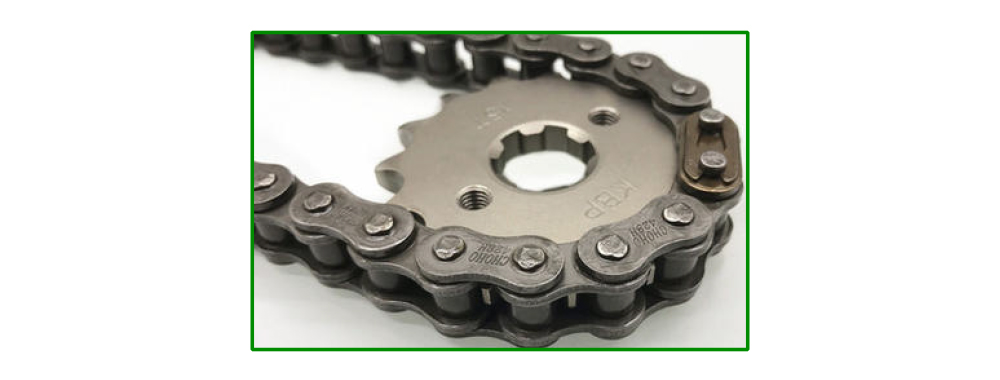
AUTO FLIP SKEWER MAINTENANCE
The Auto Flip Skewer is driven by a chain. After use, please wipe it clean and dry it and store it in a dry place. If possible, add chain oil to it to prevent the chain from rusting for a long time and cause transmission difficulties.
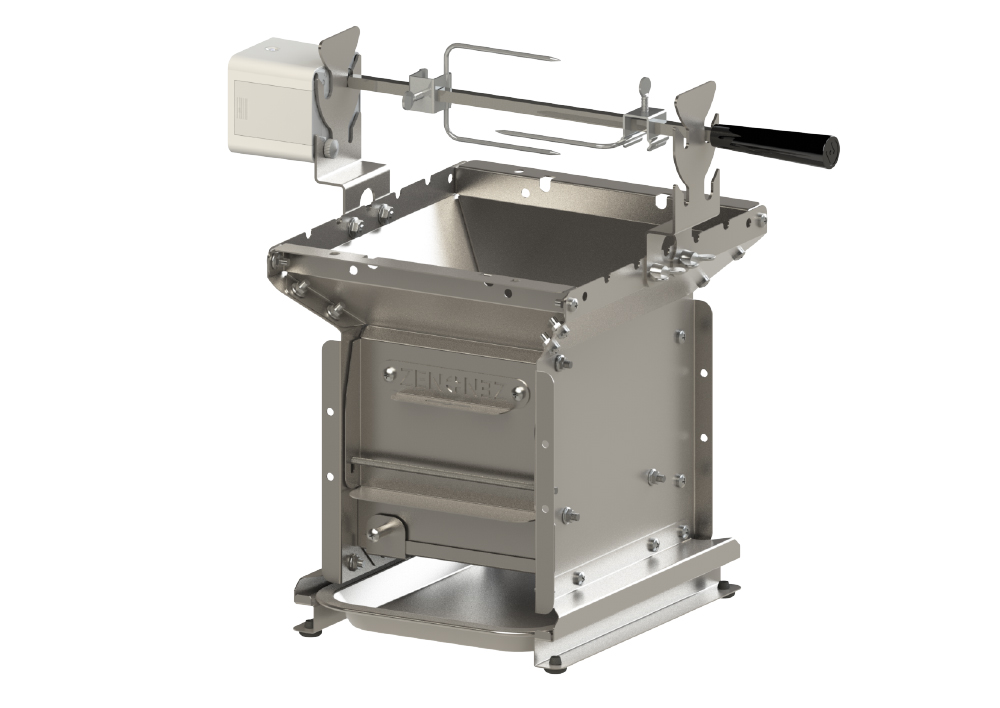
For Electric Rotisserie
Step1
Use 2pcs M6*10 screws and M6 nuts to fix the support plate at the position shown in the figure on the V1 oven body.
Step2
Fix the other support plate on the V1 oven body in the same way.
Step3
Tighten the nylon handle clockwise onto the Rotating rod;
Thread the fork and the food onto the rotating rod in sequence.
The forks through the rod, screw the thumb screws to the forks. After loading the food, adjust it to the proper position and tighten the thumb screws.
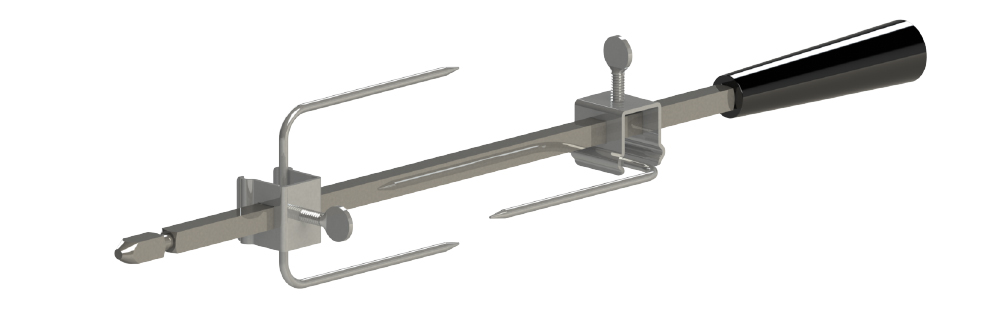
Step4
Put the installed fork and rod on the support plate.

Step5
Refer to motor installation instructions.
The installation is complete.
Step6
The installation is complete.